How to Set Up and Deploy a Basic Next.js App on AWS Amplify
Wojciech Tokarzewski - Senior Fullstack Developer
4 Oct 2024
In this article, I will introduce an alternative approach to deploying a Next.js application using AWS Amplify. While Vercel is a popular and straightforward option for hosting Next.js apps, AWS Amplify provides a robust alternative worth exploring, especially if you anticipate potential limitations with traditional solutions.
Let's get started.
Setting Up a Sample App in Your Code Repository
For this demonstration, we will create a new application to streamline the deployment process on AWS. We'll use Git as our code repository along with the basic Next.js starter template.
You can find comprehensive instructions on getting started with Next.js or acquiring the starter app in the official documentation. [link] https://nextjs.org/docs/getting-started/installation
Alternatively, AWS offers a starter app that can be found [link](https://docs.aws.amazon.com/amplify/latest/userguide/welcome.html).
Assuming you already have a GitHub account and the app code is prepared, we can proceed to the next step—deploying the app on AWS Amplify.
AWS Account Setup
To move forward, you need an active AWS account. If you haven't created one yet, this is a good time to do so. The account setup process is simple and straightforward, so I’ll skip the step-by-step instructions.
You can refer to the [AWS documentation](https://aws.amazon.com/premiumsupport/knowledge-center/create-and-activate-aws-account/) for detailed guidance.
- [Step-by-step account- creation] (https://aws.amazon.com/premiumsupport/knowledge-center/create-and-activate-aws-account/)
- [AWS registration link](https://aws.amazon.com/free/)
Navigating the AWS Console
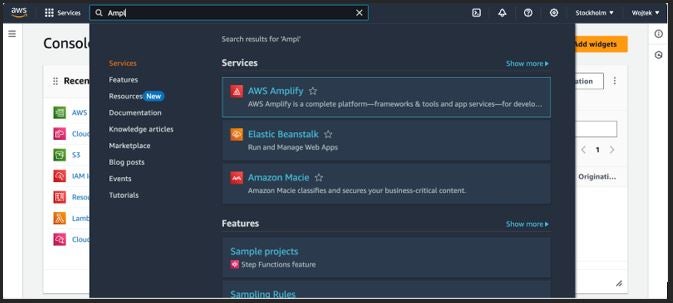
Once your AWS account is set up, navigate to the AWS Management Console. In the top search bar, type "Amplify" and select **AWS Amplify** from the list.
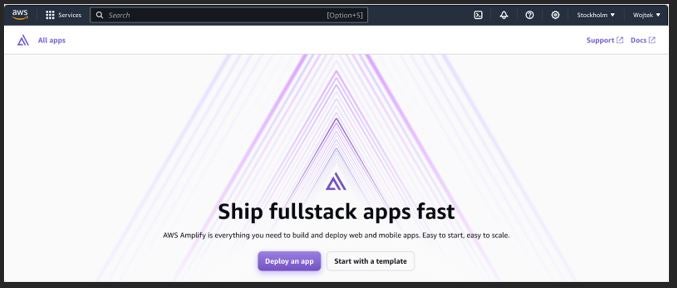
After selecting **AWS Amplify**, you will be redirected to the welcome page. You’ll see two options: **Deploy an App** or **Start with a Template**. In this guide, we will choose **Deploy an App**.
Connecting GitHub to AWS Amplify
Now that we have an AWS account and a starter app in our GitHub repository, it's time to connect the two and deploy the app.
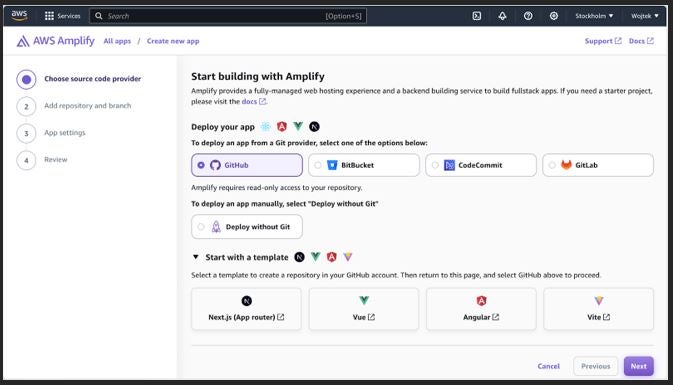
Step 1: Selecting a Source Code Provider
AWS Amplify provides several options for source code providers. Since we already have a GitHub repository, select **GitHub** and proceed by clicking **Next**.
Step 2: Authorizing GitHub Access
You'll be prompted to connect your GitHub account with AWS. Once logged in, set the required access permissions.
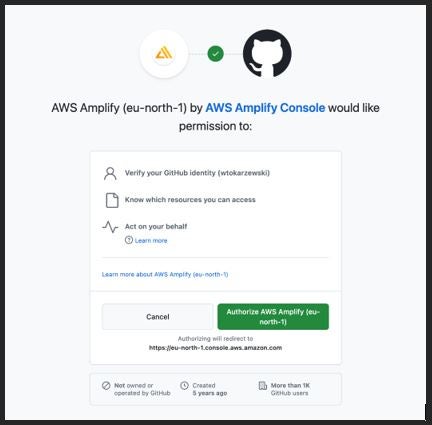
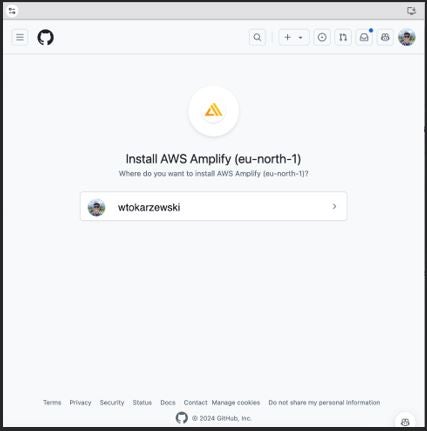
Select your GitHub profile.
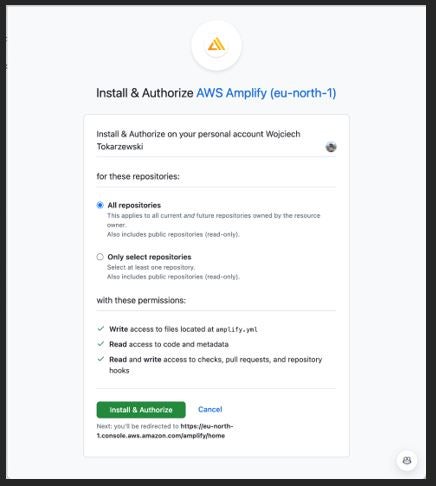
For demonstration purposes, I will provide access to all repositories. However, you can restrict access to a specific repository by selecting **Select only repositories**.
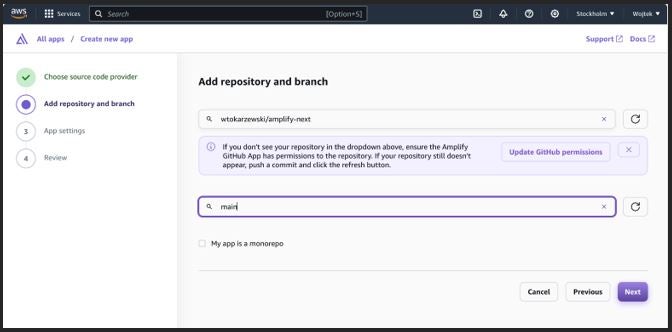
Step 3: Selecting the Application and Branch
Once access is granted, choose the repository where your app is stored. Next, select the branch you wish to deploy (e.g., `main`) and click **Next**.
Step 4: Automatic Framework Detection
AWS Amplify will automatically recognize the framework you're using, which in our case is Next.js. It will also provide a basic configuration for the app.
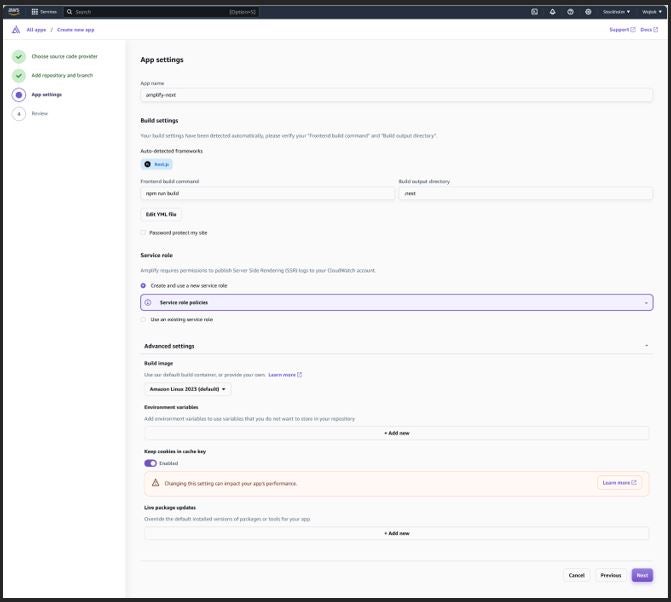
If no changes are needed, click **Next** to proceed to the configuration summary.
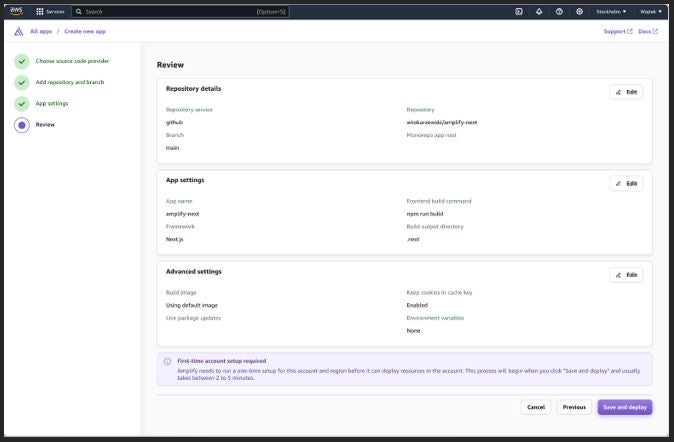
Before starting the build, review the configuration summary. If everything is correct, save the configuration and begin the build process.
Step 5: Building the Application
The build process is usually quick, taking between 2 to 5 minutes. Once the application is successfully built, the status will change to "Deployed."
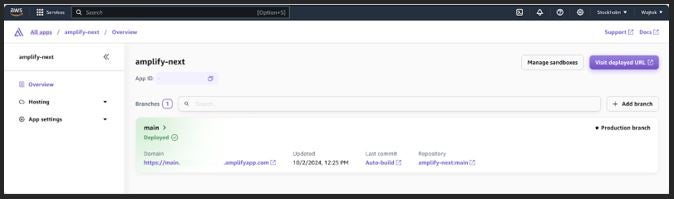
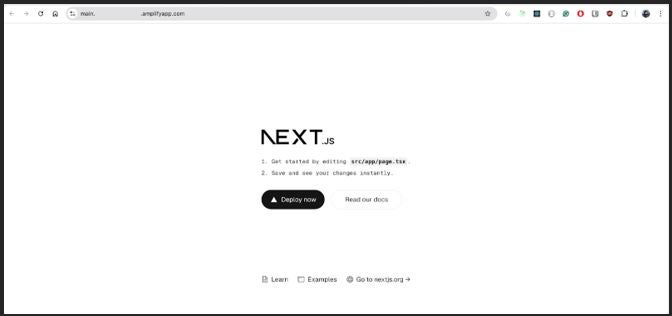
At this point, you can navigate to the URL provided in the "Domain" section to view your live application.
Summary
In this guide, I have demonstrated the simplest method for deploying a basic Next.js application using AWS Amplify. While this tutorial focused on the basics, AWS Amplify offers a variety of advanced configuration options, which I plan to cover in future posts. Some of the key features include:
- Access control configurations
- Email notifications for build status
- Custom build settings
- Adding webhooks
- Connecting additional domains
- Header and cache management
- Environment variable settings
- Application monitoring
- Preview environments for feature branches
- URL rewrites and redirects
- Secret management
Stay tuned for further posts where we’ll explore some advanced options in detail.
Have questions or need help with your Next.js deployment? Contact us today to get expert guidance!

Share on social media